
Rock Chip Repairs
Preparing for Your Rock Chip Repair:
- Keep the Area Clean & Cool: Don’t touch the chip and park in a shaded, cool spot.
- Keep the Windshield Dry: Avoid water exposure to the chip.
- Drive Carefully: Avoid rough roads or impacts before the repair.
- Avoid Defrosters & Sunlight: Don’t use defrosters or expose the vehicle to direct sunlight before the appointment.
Getting a rock chip repair done is a cost-effective way to prevent further damage and avoid more expensive repairs down the line. A quick fix can stop the chip from spreading, ensuring your windshield remains structurally sound and safe. It also improves visibility, preserves the value of your vehicle, and can often be covered by insurance with little to no out-of-pocket cost. Plus, it’s an environmentally friendly option, as repairing keeps glass out of landfills and reduces waste.
It's important to understand that the success of the repair is measured by restoring the glass's structural integrity, not its appearance. While the chip may still be visible after the repair, we always strive to minimize any further damage. In the rare case that the chip spreads, we'll apply the cost of the repair toward a full windshield replacement with our company. We're committed to providing the best outcome possible for your windshield.
At Atlas Auto Glass, we’re committed to keeping your vehicle safe and looking great. With expert rock chip repairs and premium Glasweld tools, we deliver reliable, long-lasting results. Contact us today or book your repair below!
Request a Quote
Rock Chip Repair - Quote Request
We will get back to you as soon as possible.
We encountered an error while sending your message. Please try again. If the problem persists, please text us at (512) 506-0909.
The Repair Process
1
Inspect & Clean:
Assess if the chip is repairable (bullseye, star, etc.).
Remove loose debris with a dry cloth and probe.
2
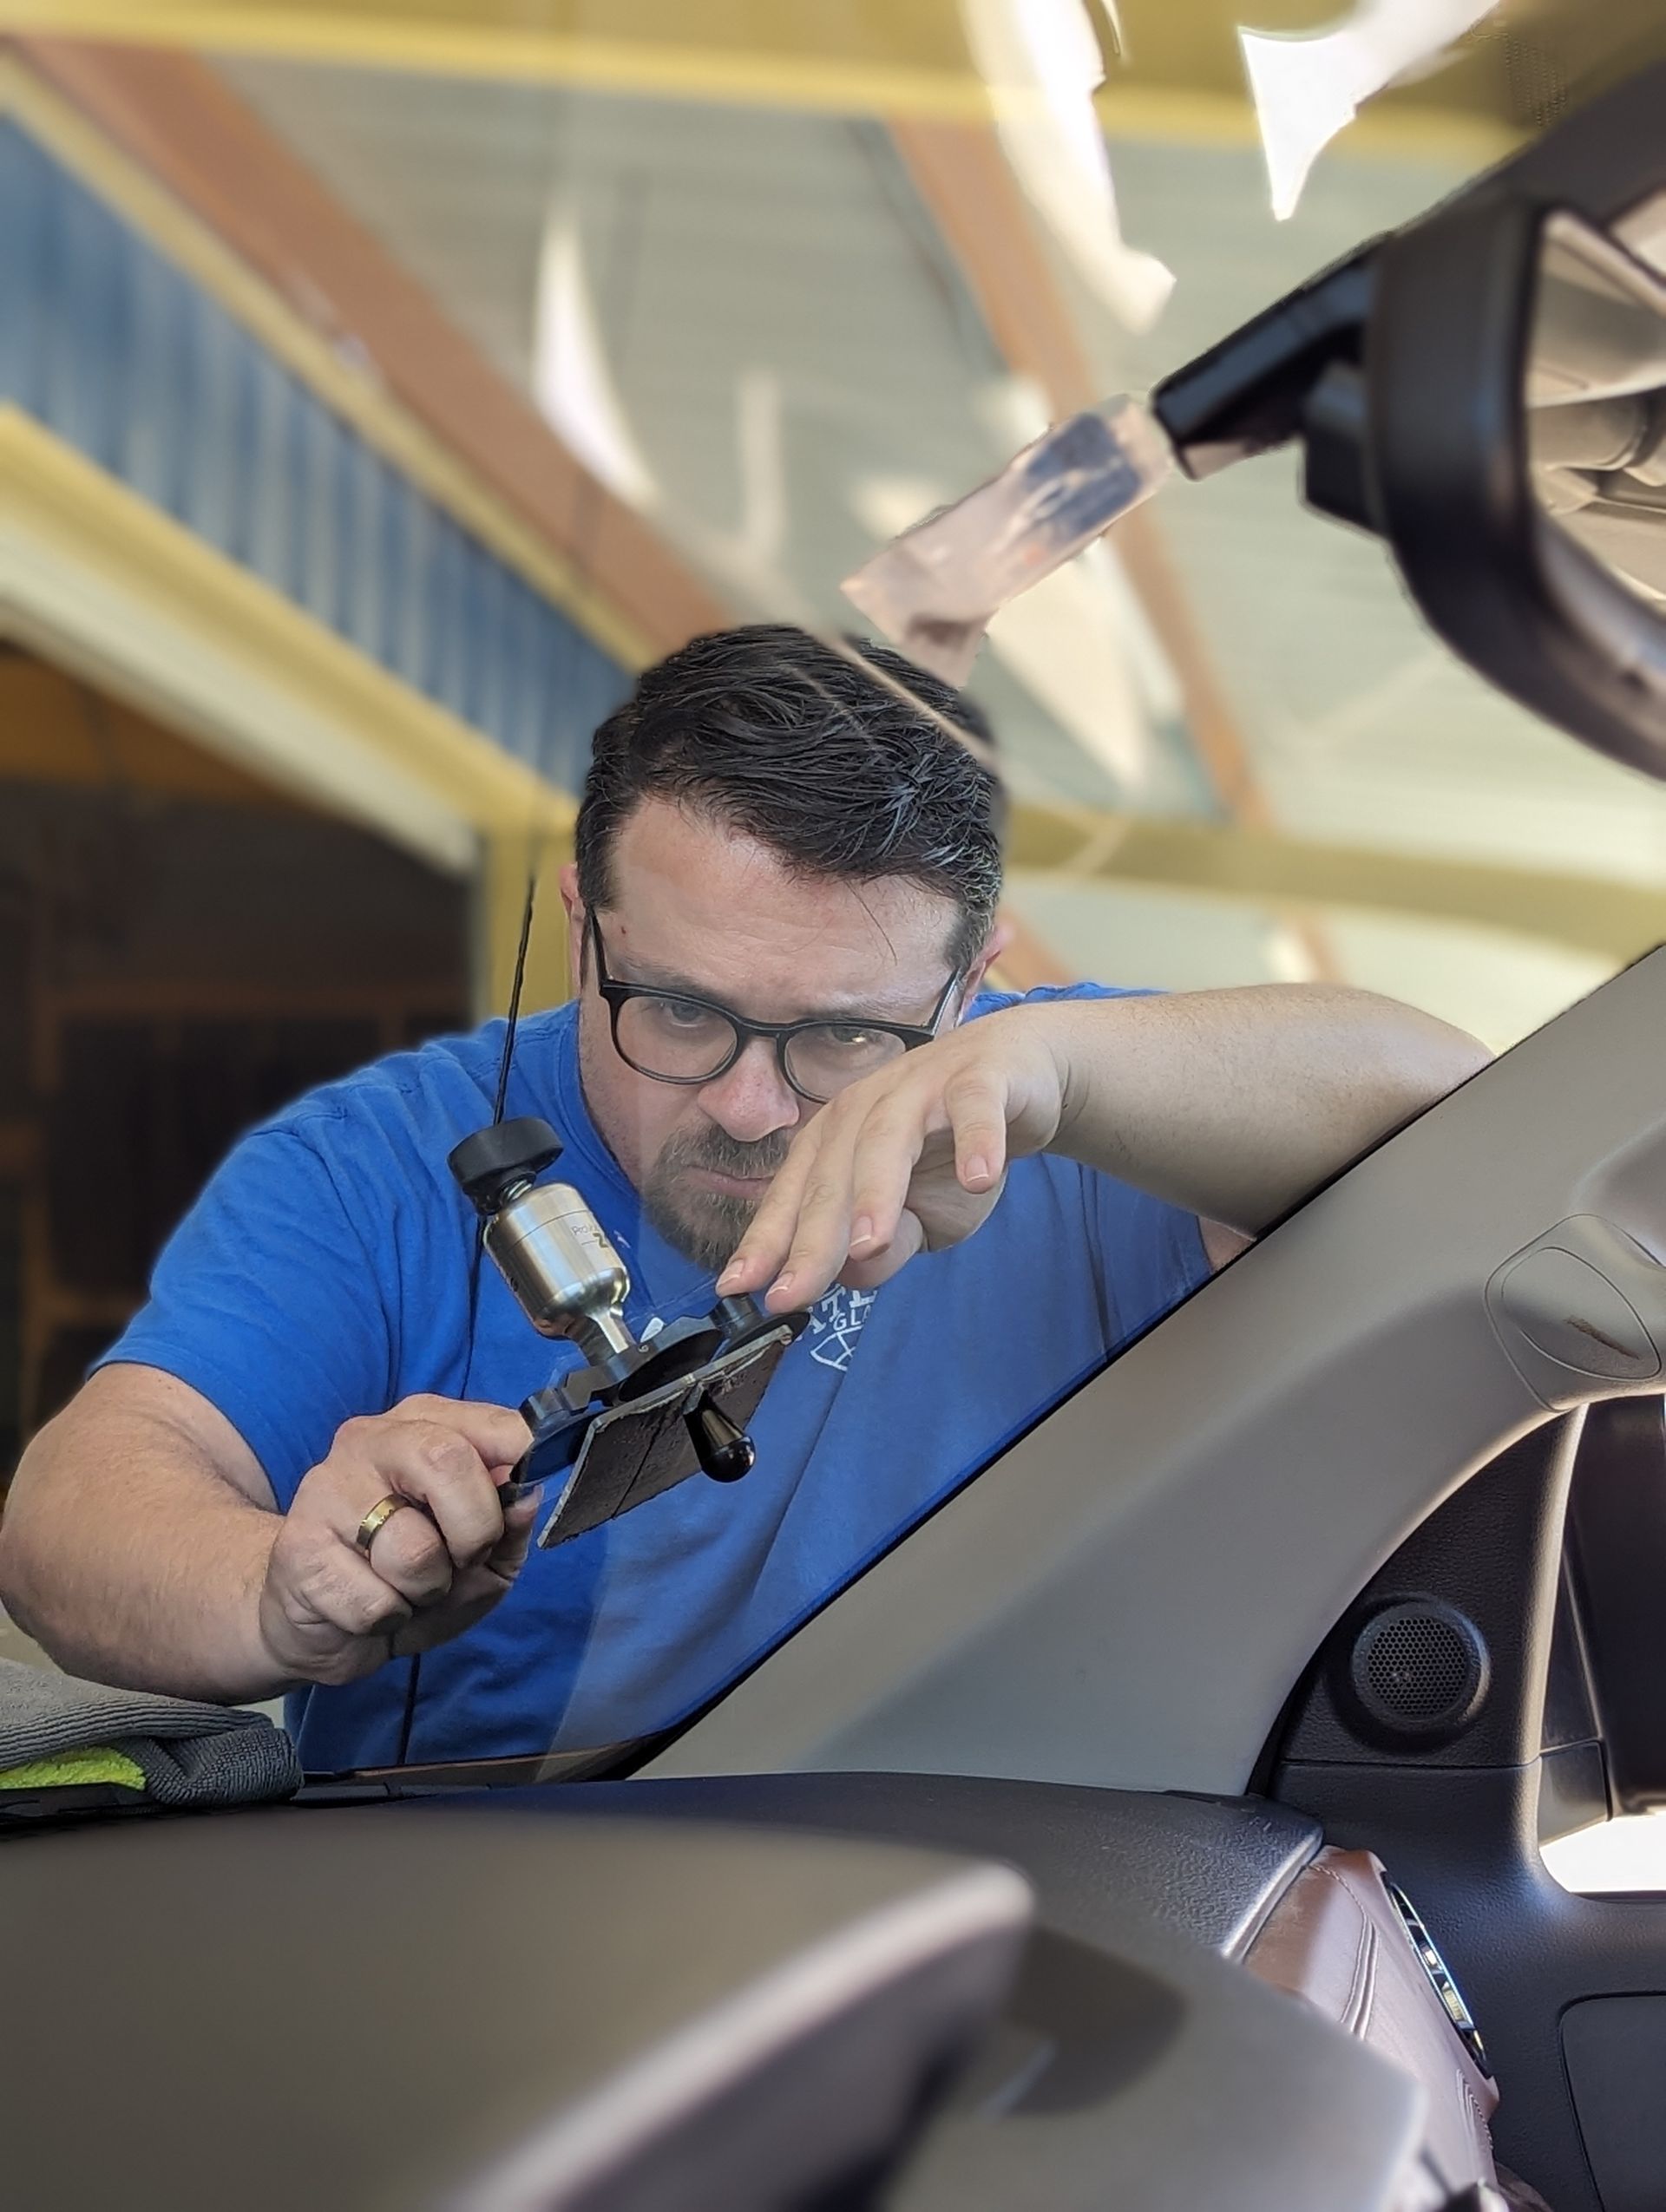
Rock Chip Vacuum & Resin Injection Method
Secure the GlasWeld bridge firmly over the chip.
Align the injector to ensure a tight seal over the damaged area.
Initiate the vacuum cycle.
Alternate between vacuum and pressure cycles to remove air, fill the cracks, and inject resin into the impact site.
3
Cure Resin
Use the UV curing lamp to cure the injected resin for 60 seconds.
Apply Pit Filler
Add pit filler to the surface and cover with a curing tab.
Cure under the UV lamp for another 60 seconds.
Finish & Inspect
Use a razor blade to remove any excess filler.
Inspect the area to ensure a smooth finish.
Polish
Polish the repair for clarity and complete the final inspection.